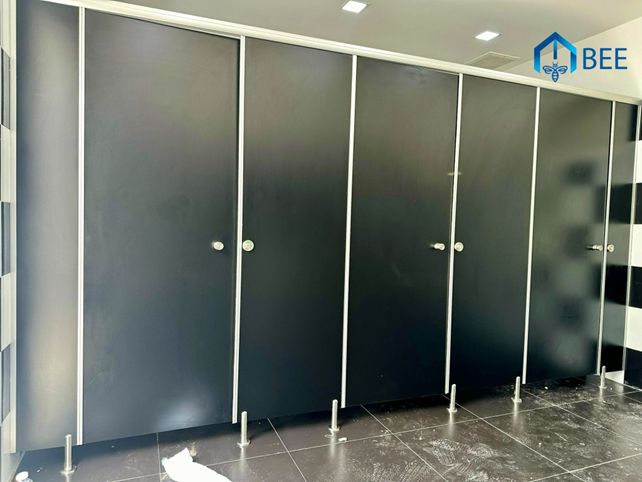
The installation process for High-Pressure Laminate (HPL) partitions involves several key steps to ensure they are securely and properly installed. Here is a general overview of the process:
1. Preparation
- Site Assessment: Evaluate the installation site to ensure it is suitable and measure the area accurately.
- Material Inspection: Check the HPL panels and other materials for any damage or defects before starting the installation.
- Tool Setup: Gather all necessary tools and equipment, such as drills, saws, screws, anchors, and measuring tape.
2. Marking and Cutting
- Marking: Use a measuring tape and marker to outline where the partitions will be installed, including marking positions for brackets and fixings.
- Cutting: Carefully cut the HPL panels to the required sizes and shapes using a saw, ensuring smooth and clean edges.
3. Installing Framework
- Wall and Floor Brackets: Install wall and floor brackets at the marked positions using screws and anchors. These brackets will support the HPL panels.
- Framework Assembly: Assemble the framework (if required) using metal or wooden supports to ensure the partitions are stable and secure.
4. Mounting Panels
- Panel Attachment: Secure the HPL panels to the wall and floor brackets using screws or adhesive, ensuring they are level and aligned correctly.
- Joint Sealing: Seal the joints between panels with silicone or other appropriate sealant to prevent moisture ingress and improve the overall appearance.
5. Finishing Touches
- Edge Trim: Install edge trims or finishing strips to cover any exposed edges and provide a clean, polished look.
- Hardware Installation: Attach any necessary hardware, such as handles, locks, or hinges, if the partitions include doors or access panels.
6. Inspection and Cleanup
- Quality Check: Inspect the installed partitions to ensure they are stable, level, and properly aligned. Check for any gaps or imperfections that need addressing.
- Cleanup: Clean the work area, removing any debris, dust, or excess sealant to leave a tidy and professional finish.
This is a general guide, and specific installation instructions may vary depending on the manufacturer and the particular application. If you have a specific project in mind, be sure to consult the manufacturer’s guidelines and recommendations for best results.


